Beeswax Rendering
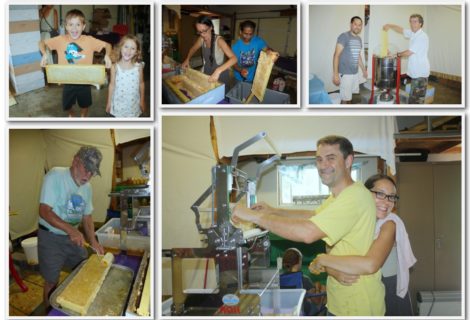
It has been a while since we have had a blog post, and I thought it would be interesting to show a few pictures of the wax-rendering process we have taken over the past couple years, especially since we have now just placed some beeswax items for sale in our shop. We don’t have any special equipment – just a small double-boiler that Jana uses to melt down the wax a couple times a year, or as needed. The wax of course, comes from the cappings that are cut off the honeycombs so that the honey can be extracted. The bees produce the wax from wax glands and other glandular secretions, but that is a whole other story. 🙂
So in this case, we start with a 5 gallon bucket of wax cappings, and some extra jars of wax chunks that have been scrapped off the tops or bottoms of frames.
Sometimes if the wax has significant honey within it, we heat it slowly in the oven in a large pan to separate the wax from the honey. When you do this, the impurities in the wax (propolis, pollen, other detritus) tend to clump together and rise toward the top of the wax, but the wax still needs to be filtered. The chunks start out looking pretty ugly.
This photo is from a couple years ago – first time Jana was using the little double-boiler (so clean!).
The buffer of water in the lower pot keeps the wax from getting too hot – it is flammable and it can ‘burn’/darken which is not desirable.
If the wax doesn’t have too much honey trapped in it, then it can be thrown directly in the pot. Here are some compressed chunks in our pot a couple years later. Did I mention wax-rendering is ‘messy’? It will coat anything it touches, so it’s simplest to re-use the same utensils only for beeswax unless you want to spend extra time cleaning. Fortunately, the leftover impurities in the pot do not matter. It all gets filtered out each time. Next to this pot, Jana actually had a large stock pot with water and several canning jars of wax sitting in the water – all melting at the same time.
Wax-lined containers from products that you normally purchase work great for holding the filtered wax. We save up half-and-half or coconut milk containers for this purpose. Cut the top off and lay several layers of cheesecloth over the top.
The cheesecloth can be held in place with a rubber band while you pour in the melted wax. The impurities stay on top of the cheesecloth and that mass of junk is called slumgum. You do need to need to be extra careful with the cheesecloth so that it does not get to heavy and then slip off the rubber band or dip into the filtered wax below it. Then all your work is for not, and you need to start over. 😐
Lift up the cheesecloth and voila…Sometimes it takes a few meltings and pourings to fill up the container.
Then let it cool and peel off the wax lined carton. There can be a layer of honey at the bottom that can be wiped off (and consumed).
And there you have it – nice blocks of wax, worth more than its weight in honey.
Jana likes to melt and filter the wax twice to get a very pure and uniform product. Immediately after the second filtering, Jana can pour the wax into different molds if desired. For example, tablespoon hearts and 2-tablespoon cubes are great for using in recipes that call for a certain amount of beeswax – like lip balm and body butter.


Recent Comments